

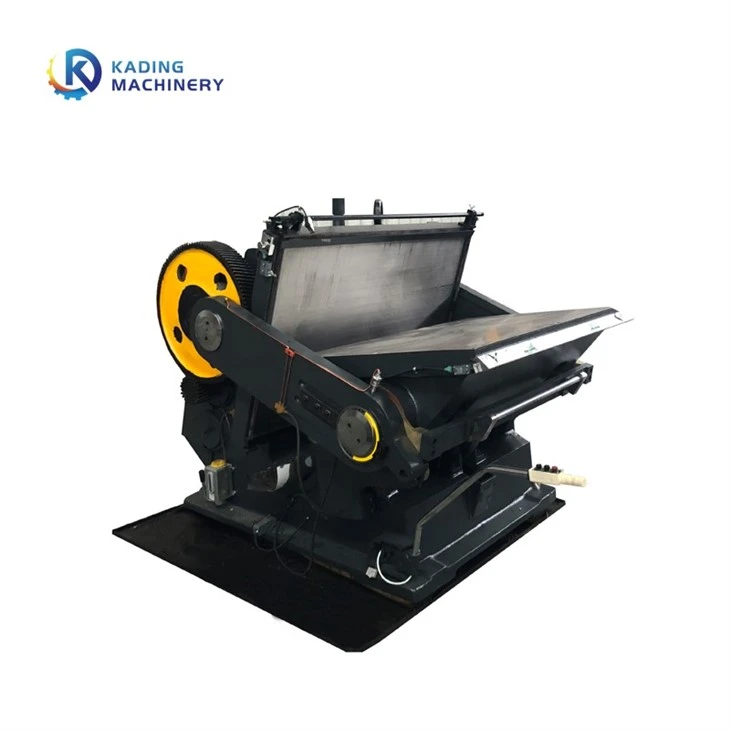
As a trusted supplier of Manual Cardboard Die Cutting Creasing Machines, I understand the importance of keeping your equipment in top - notch condition. Over time, certain parts of these machines may wear out or get damaged, and knowing how to replace them is crucial for maintaining efficiency and prolonging the machine's lifespan. In this blog, I'll guide you through the process of replacing parts of a manual cardboard die - cutting creasing machine.
1. Identifying the Worn - out Parts
Before you start replacing any parts, you need to accurately identify which parts are in need of replacement. Common parts that may require replacement include cutting blades, creasing rules, bearings, belts, and electrical components.
- Visual Inspection: Conduct a thorough visual inspection of the machine. Look for signs of wear such as dull blades, frayed belts, or loose bearings. For cutting blades, check if they are chipped or have lost their sharpness. Creasing rules may show signs of flattening or deformation.
- Performance Assessment: Pay attention to the machine's performance. If you notice inconsistent cuts or creases, it could indicate a problem with the cutting or creasing parts. Unusual noises during operation may suggest issues with bearings or belts.
2. Gathering the Necessary Tools
Once you've identified the parts to be replaced, gather the appropriate tools. The tools you'll need depend on the specific part being replaced.
- General Tools: A set of wrenches (both open - end and socket wrenches) is essential for loosening and tightening bolts. Screwdrivers (flat - head and Phillips - head) are also needed for removing covers and accessing internal components.
- Specialized Tools: For blade replacement, you may need a blade - changing tool. This tool is designed to safely remove and install cutting blades without causing damage to the machine or the blade itself. When replacing bearings, a bearing puller can be very useful for removing the old bearings.
3. Safety Precautions
Safety should always be your top priority when working on any machinery.
- Power Off: Before starting any replacement work, make sure the machine is completely powered off and unplugged from the electrical source. This prevents accidental startup and reduces the risk of electric shock.
- Wear Protective Gear: Wear safety glasses to protect your eyes from flying debris. Gloves are also recommended to protect your hands from sharp edges and moving parts.
4. Replacing the Cutting Blades
Cutting blades are one of the most critical parts of a manual cardboard die - cutting creasing machine. Here's how to replace them:
- Access the Blade Area: Remove the covers or guards that provide access to the cutting blade. This may involve removing a few screws or bolts using the appropriate tools.
- Remove the Old Blade: Use the blade - changing tool to loosen the blade clamps. Carefully remove the old blade from the machine, taking note of its orientation.
- Install the New Blade: Place the new blade in the same orientation as the old one. Tighten the blade clamps using the blade - changing tool, ensuring that the blade is securely in place.
- Test the Blade: After installation, perform a test cut on a scrap piece of cardboard to ensure that the blade is cutting properly.
5. Replacing the Creasing Rules
Creasing rules are used to create folds in the cardboard. Here's the process for replacing them:
- Locate the Creasing Rule: Identify the position of the creasing rule that needs to be replaced. In some machines, the creasing rules are located in a creasing station.
- Remove the Old Rule: Loosen the screws or clips that hold the creasing rule in place. Gently remove the old rule from the machine.
- Install the New Rule: Place the new creasing rule in the same position as the old one. Tighten the screws or clips to secure the rule.
- Adjust the Creasing Pressure: After installation, you may need to adjust the creasing pressure to ensure that the folds are consistent and clean.
6. Replacing Bearings
Bearings are responsible for smooth rotation of various parts in the machine. Here's how to replace them:
- Locate the Bearing: Find the bearing that needs to be replaced. This may require removing some covers or components to access the bearing.
- Remove the Old Bearing: Use a bearing puller to gently remove the old bearing from its housing. Be careful not to damage the surrounding parts.
- Install the New Bearing: Apply a small amount of lubricant to the new bearing. Carefully place the new bearing in the housing, ensuring that it is properly seated.
- Check the Rotation: After installation, check the rotation of the part that the bearing supports to ensure that it rotates smoothly.
7. Replacing Belts
Belts are used to transfer power between different parts of the machine. Here's how to replace them:
- Access the Belt Area: Remove any covers or guards that provide access to the belt.
- Loosen the Tension: Use a wrench to loosen the tensioning bolts or adjusters to relieve the tension on the belt.
- Remove the Old Belt: Slip the old belt off the pulleys.
- Install the New Belt: Place the new belt on the pulleys in the correct orientation. Make sure the belt is properly aligned.
- Adjust the Tension: Tighten the tensioning bolts or adjusters to the appropriate tension. The belt should be tight enough to transfer power effectively but not so tight that it causes excessive wear on the pulleys.
8. Replacing Electrical Components
If you need to replace electrical components such as switches, relays, or motors, it's important to have a basic understanding of electrical systems.
- Disconnect the Power: As always, make sure the machine is powered off and unplugged.
- Identify the Component: Locate the electrical component that needs to be replaced. Take note of the wiring connections before removing the component.
- Remove the Old Component: Carefully disconnect the wires from the old component. Remove any mounting screws or clips and take out the old component.
- Install the New Component: Connect the wires to the new component according to the markings or the original wiring configuration. Secure the new component in place.
- Test the Electrical System: After installation, plug in the machine and test the electrical system to ensure that the new component is working properly.
Conclusion
Replacing parts of a manual cardboard die - cutting creasing machine is a task that requires careful planning, the right tools, and adherence to safety precautions. By following the steps outlined in this blog, you can keep your machine in optimal condition and avoid costly downtime.
If you're in need of high - quality replacement parts for your Manual Cardboard Die Cutting Creasing Machine or are interested in purchasing a new machine, we're here to help. Our products, including Cardboard Creasing Machine, Automatic Die Cutting And Creasing Machine, and Cutting Creasing Machine, are designed to meet the highest standards of quality and performance. Contact us to discuss your specific needs and start a procurement negotiation today.
References
- "Manual Cardboard Die - Cutting Creasing Machine Operation Manual"
- Industry - standard guidelines for machinery maintenance and part replacement.


